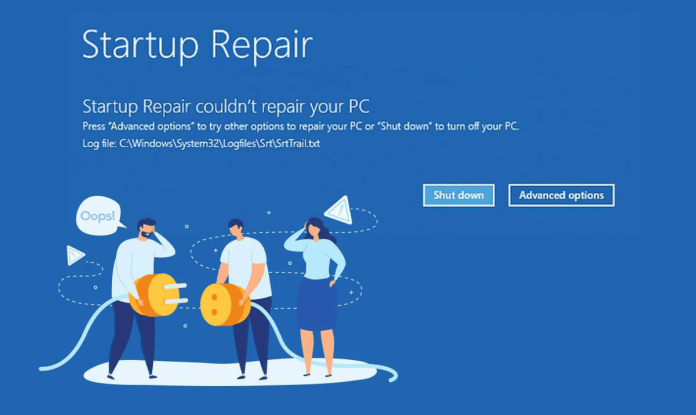
If you’re looking for a quick fix to get your Windows 7 computer up and running again, then you’ve come to the right place. In this blog post, we will discuss five easy tips and tricks to help you repair your computer when the startup repair in Windows 7 isn’t working. Whether you’re a novice or a tech guru, these tips will come in handy if you ever find yourself in need of some computer repair in Edinburgh.
1) Boot from a Windows 7 Installation or Recovery Disc
One of the first steps to take when attempting to repair Windows 7 is to boot from either an installation or recovery disc. This will allow you to run various tools, such as System Restore and Disk Check, that can help diagnose the problem and potentially fix it. To do this, you’ll need access to a Windows 7 installation disc or recovery disc, and a computer repair shop like Computer Repair Edinburgh can provide these if necessary. Once you have the disc in hand, you’ll need to make sure your BIOS is set up to boot from the disc before your hard drive. Then insert the disc, restart the computer, and follow the on-screen prompts.
2) Restore the Registry Using System Restore
If none of the other fixes above have worked to resolve your Startup Repair issue in Windows 7, you may need to restore the registry using System Restore. System Restore is a feature that allows you to undo system changes without affecting personal files, such as documents and photos. To use System Restore, follow these steps:
- Boot your computer into Safe Mode by pressing F8 during boot up.
- Once in Safe Mode, click Start > All Programs > Accessories > System Tools > System Restore.
- Choose the “Restore my computer to an earlier time” option, then select Next.
- Select a date before you began experiencing Startup Repair issues.
- Follow the on-screen instructions to finish restoring the registry.
- Reboot your computer normally.
Once the restore process is complete, you should be able to boot up normally again without any errors or issues. If the problem persists, try running a virus scan and performing a Clean Boot, as outlined in the previous sections of this blog post.
3) Run a Virus Scan
When the Windows 7 startup repair not working issue is caused by a virus, malware, or other malicious program, running a virus scan can help identify and remove the threat. In order to run a virus scan, you need to have a reliable antivirus program installed and updated on your computer. You can find many free antivirus programs available online that can be used to scan for and remove viruses from your computer.
Once you have an antivirus program installed, you should run a full system scan. This will check your entire computer for viruses, malware, spyware, and other malicious programs. The scan may take several hours, depending on the size of your system, so make sure to plan accordingly. Once the scan is complete, the antivirus program should provide you with a report showing any threats that were found and removed. After the threats are removed, you should try running the Windows 7 startup repair again.
4) Run Check Disk
If you suspect that errors may be present on your hard drive, then running Check Disk is a great way to diagnose and repair any existing issues. Check Disk can detect and fix corrupt files, bad sectors, and other types of disk errors. To run Check Disk:
- Boot your computer into Safe Mode.
- Open the Start Menu and type in “cmd.” Right-click on “Command Prompt” and choose “Run as administrator.”
- Type “chkdsk c:/f” and hit Enter. This will start Check Disk.
- It will scan your hard drive for any errors or bad sectors and will then attempt to repair any errors it finds.
- Once it is finished, restart your computer and see if Startup Repair works properly now.
Running Check Disk should help resolve any issues with your hard drive, however, if it does not work, you may need to replace the hard drive or take your computer to a repair shop for further assistance.
5) Perform a Clean Boot
A clean boot is the process of starting Windows 7 with only the bare minimum of services and programs running. This helps you isolate the source of a startup problem, such as a program or service that is causing a conflict. To perform a clean boot, follow these steps:
- Open System Configuration by typing “MSConfig” into the Start menu search box and pressing Enter.
- Click the General tab, select Selective startup, and then clear the Load startup items check box.
- On the Services tab, click to select the Hide all Microsoft services check box and then click Disable all.
- On the Startup tab, click Open Task Manager.
- In the Task Manager window under the Startup tab, for each startup item, select the item and then click Disable.
- Close the Task Manager window and click OK to apply your changes in the System Configuration window.
- Restart your computer and see if this has resolved your issue.
If it hasn’t, you can always start again from step 1 and try the other options available for fixing startup repair in Windows 7, not working issues.


